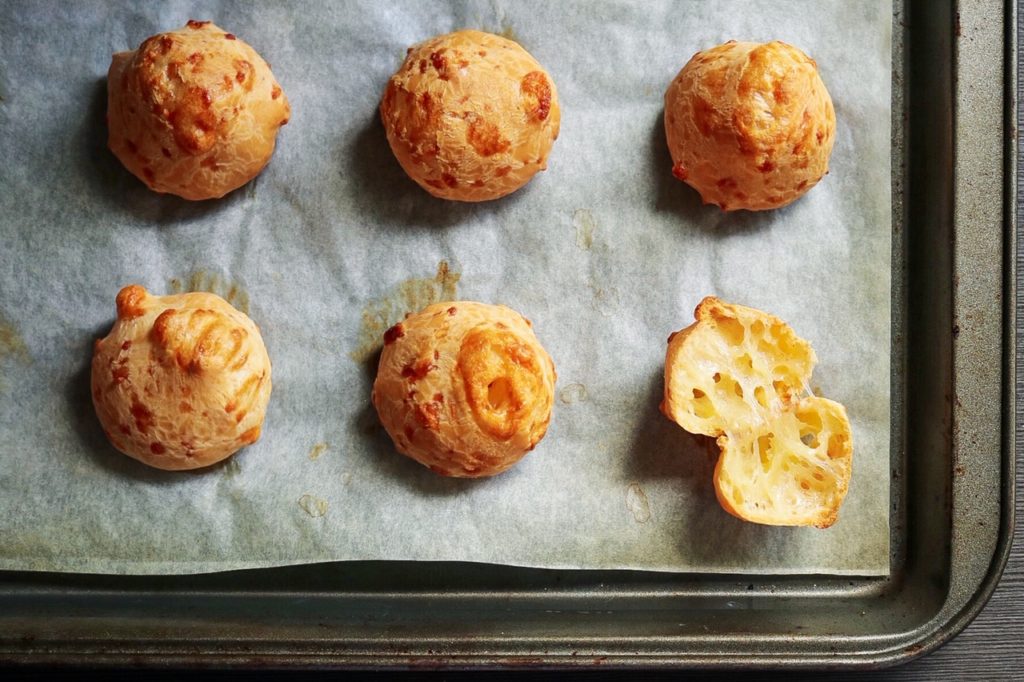
THIS BRAZILIAN CHEESE BREAD IS A CHEESE LOVER’S DREAM
My first trip to Sao Paolo felt like jumping feet-first into a chef’s culinary playground. From bustling markets filled with hundreds of species of the freshest fruits and vegetables brought straight from the amazon, to breezy cafes on every street corner serving up exotic favorites like pastel de bacalao and chicken coxinha. Every day was an adventure for the palate and thrilling to the senses.
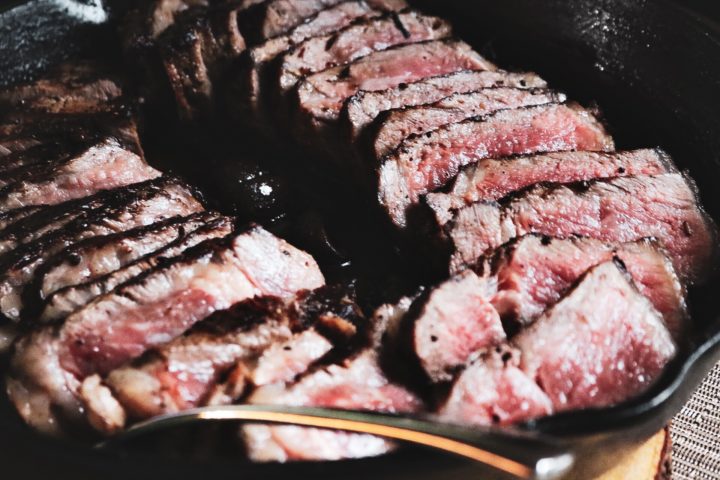
My guide, and chef partner-in-crime at the time, introduced me to two of Brazil’s most famed foods. The exploration began with Feijoada, the national dish. A hearty dish of stewed turtle beans, foray of salted meats, rice and farofa. It’s only eaten on days of rest because of the sleepy aftermath from such a satiating meal. And that’s why I adore it; it’s all about those post eats zzzzz’s. Then there’s Churrasco, both a ubiquitous meal across South America and a memorable culinary spectacle. Gauchos outfitted with swords of never-ending salty grilled meats in a variety of 40 different cuts from every animal imaginable, dancing from table-to-table slicing layers of savory heaven for their guests. Before each meal, I was presented with a basket of warm cheesy puffs fresh out of the oven. With each bite I melted like the soft gooey centers in those toasty rolls. I came near to eating the entire basket and ruining my dinner, as I frequently do with my chips and salsa at any Tex-Mex restaurant, so I was determined to learn how to make them when I got home. That way I could gorge ’til my hearts content in the elastic comfort of my own jammies. No judging.
After trial and error, I’ve recreated the beloved recipe from that same churrasco in Sampa for you to enjoy at home.
CHEF’S NOTES
Traditionally, Pao De Queijo is made with both sweet tapioca flour, sour tapioca flour, and minas cheese. If you happen to have a Brazilian or Latin grocery market in town that supplies these ingredients, you’re in luck. If not, any tapioca starch and a blend of cheeses like parmesan, mozzarella, queso fresco, and cheddar will substitute perfectly without compromise on flavor. Try a variety of different fats, like rendered bacon, butter, or avocado oil, to add additional flavor if you feel adventurous. Scoop the dough in different sizes and freeze them to enjoy throughout the month. They make great slider buns or try wrapping the dough around some cubed cheese or sausage for filled appetizers at your next gathering. Freeze any un-baked dough balls immediately, or use the mix within the first day to avoid starch retrogradation, which will prevent the balls from puffing up.
Print Recipe
The Best Brazilian Cheese Bread - 3 Cheese Pao De Queijo
The perfect cheese bread DOES exist, and it also happens to be gluten friendly. Enjoyed all day with a cup of espresso or before a feast of churrasco.
In a small sauce pot, bring to a gentle boil milk, water, oil, salt.
In the bowl of a stand mixer fitted with a paddle attachment, or mixing bowl if making by hand, add the tapioca starch. Once milk mixture has come to a light boil. turn heat off and immediately transfer to the mixing bowl with starch.
Turn mixer on to lowest speed. If mixing my hand, use a rubber spatula and stir to combine. Mix for at least 2 mins. Mixture should begin to resemble a soft doughy paste. Continue mixing until steam subsides and dough is close to body temperature.
Add one egg to the dough and continue mixing until completely emulsified. Scrape the sides of the bowl in between adding in the second egg. Repeat until dough has become a silky soft texture between a batter and a dough, loose but not too liquid.
Grate, dice or crumble all of the cheeses. Combine together in a bowl and add the 1 tbls of tapioca starch to the cheeses. Toss to coat the cheese then add to the dough. Turn mixer to low speed and mix for 30 seconds. Turn up to medium/high speed and mix for another 30 seconds. If mixing by hand, just make sure that the batter is thoroughly combined.
Transfer to a storage container and cover, allow to rest in the fridge for at least 1 hr.
Baking
Preheat oven to 375f degrees. Line a baking sheet with parchment or silicone baking liner.
Prepare a small dish with water. To scoop the dough balls, I used a truffle sized scoop for mini puffs but you can use a #100 or small cookie disher or spoon. Remove the dough from the fridge. Dip palms and finger tips in water, scoop a rounded mound of dough and release into your palms. Roll to smooth out any edges. Omit this step if you don't mind some wonky shaped puffs. 🙂
Place balls at least one inch away from one another. Once the tray is full, transfer to the oven. Bake for 15 mins, try not to peek or the puffs may collapse. If the puffs still look a little pale, turn the heat off and leave them in the oven for another 3-5 mins to finish cooking.
Remove from the oven and serve these delicious cheesy poofs immediately. Try adding in some of your favorite non-traditional fillings like bacon, ham, cracked pepper, scallions, extra cheese or sautéed peppers. They make perfect puffs for sliders and appetizers or just enjoyed any time of day.