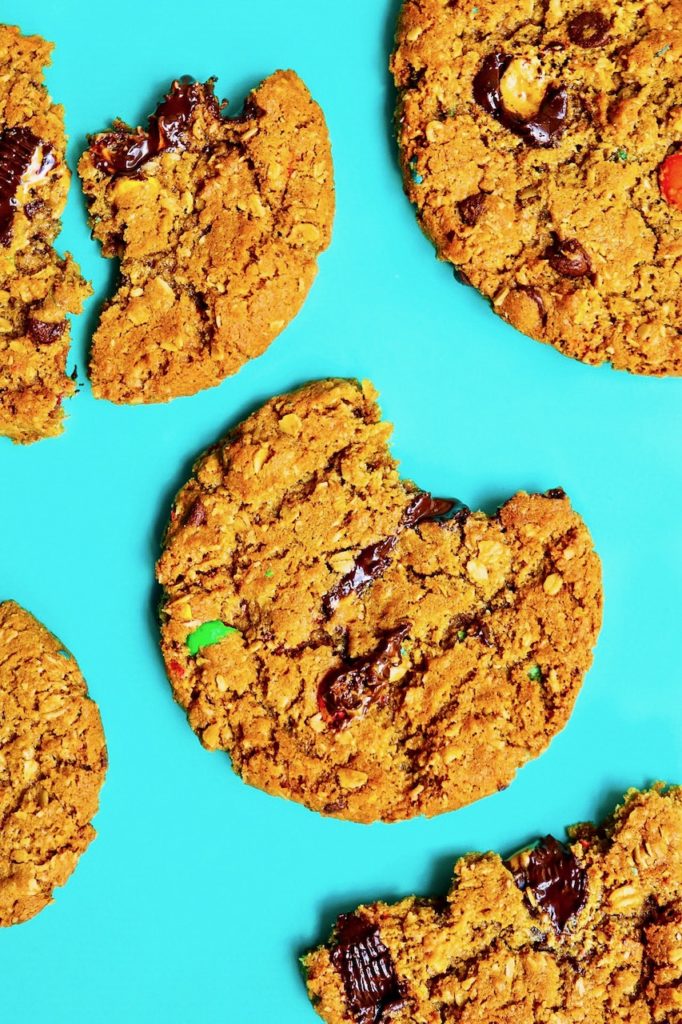
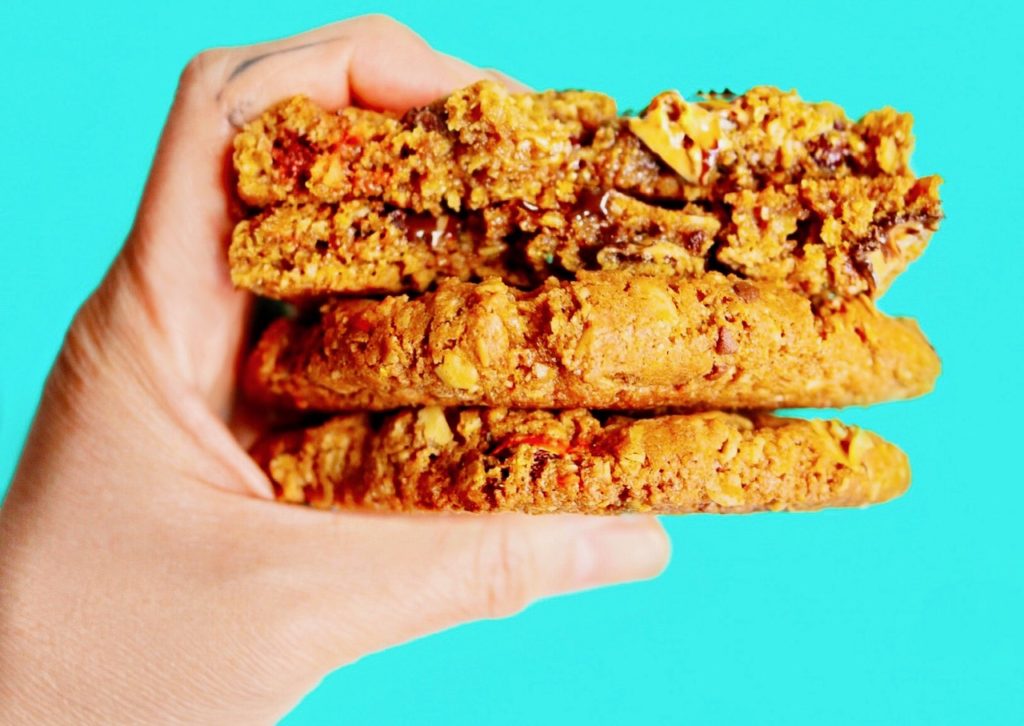
I’m sure we’ve all been stockpiling essential ingredients and snacks galore for the past three months. Being a sucker for extremes, from gluten free to junk food junky, my cabinets are full of chocolate candies, nut butters, heart healthy oats, and kettle chips. Our daily movie nights basically explain our snack addiction. After a recent purge of our pantry, I started craving a dessert that would require very little effort and would make good use of some of the random last bits. Then I remembered an old recipe for Monster Cookies, aka Leftover Cookies. They’re a stupidly easy to make sorta healthy snack that tastes super naughty. We think theses delicious Monster Cookies would definitely be Cookie Monster approved!
Chef’s Notes
You can literally throw whatever you want in these. They almost always turn out amazing. Substitute any nut or seed butter your heart desires. Avoid using instant oats and opt for quick, rolled, or old fashioned. Refrigerate the dough for at least 1 hour for the best results but you can bake them straight out of the bowl if you’re in a time pinch. Reheat them gently in the microwave the next day to soften them up. They also make a great base for ice cream sandwiches. If Monster Cookies aren’t your thing then try our favorite chocolate chip cookie recipe instead.

| Prep Time | 5 mins |
| Cook Time | 10 mins |
| Servings |
monsters
|
- 1/2 c Sunflower Butter Sub Peanut, Almond, or Cashew Butter
- 1/2 c Brown Sugar
- 1/4 c White Sugar
- 3 tbls Butter, soft
- 1 lrg Egg We love Nellies Free Range
- 1/2 tsp Vanilla Extract
- 3/4 c Rolled Oats Quaker is our go-to
- 2 tbls GF Flour Sub any flour but we love Krusteaz GF
- 1/2 tsp Baking Soda
- 1/4 tsp Baking Powder
- 1/4 tsp Salt
- 1/4 c M&M's Or any candy you have stashed away
- 1/4 c Bittersweet Chocolate Chips Or whatever you have on hand, Vegan Enjoy Life are great
- 1/4 c Peanut Butter Cups, quartered We love TJ's Dark Chocolate PB cups
- 1/4 c Popcorn, Potato Chips, Raisins, Oreos, Pretzels Optional but we threw in a handful of Flaming Hot Lay's Kettle Chips
Ingredients
|
|
- Preheat the oven to 350f degrees. Line two baking trays with parchment paper.
- In a large mixing bowl (kitchenaid or by hand), combine the nut butter, sugar, and butter. Mix well until smooth with a few lumps. Add egg, vanilla, baking soda, and baking powder. Continue mixing until fully incorporated.
- Add oats, flour and salt. Stir for a few seconds. Add the remainder of your ingredients until everything is incorporated. Cover and let it rest in the fridge for 30 mins or if you can't wait, no worries. Let's keep going.
- Using a a large ice cream scoop, mound the dough into large balls and place them at least one inch apart on the baking trays. They will spread a good amount. I bake five to a tray just to keep them extra pretty. Add a few pieces of extra candy on top for additional indulgence and photo-worthy cookies.
- Transfer to the middle rack in the oven and bake for 8-10 mins or until the edges turn golden brown. For extra large cookies, you can add an extra 2 mins but don't overbake them. They're best when the centers are slightly underdone.
- Let them cool for at 5-10 mins before digging in. Store extras in an airtight container and enjoy them over a few days. They get a little crunchy over time making them great for dunking into milk.