I’m definitely not the expert in my family when it comes to gardening, but my mother’s green thumb can take a nearly dead rosemary bush and bring it back to life with the shake of a watering can. I’ve always been interested in planting, and even keep lots of tools and materials around for those times when inspiration strikes, but don’t always have the time to devote to the hobby. Over the past few weeks, given the gift of a little extra time on my hands, I took a stab at planting some succulent pots after watching endless Youtube videos of Japanese aquascaping and terrarium techniques. If you’re looking to pick up a challenging and cathartic hobby, I think this is for you.
A beginner’s tip: Substrate, substrate, substrate. It’s not only beneficial for the plants, it’s visually beautiful. I always keep a little of this stuff on hand: sand, cactus potting soil (drains easily), moss, orchid bark, pumice (volcanic rocks), mulch, and small stones. Mastering how well your plants drain and take in water is an art, and trial and error can yield some pretty mixed results. There’s no tried and true method to it but we’re always up for a challenge.
A couple of old bonsais that didn’t survive one of our longer vacations left us with some perfect pots to experiment with. The key is to look for drain holes or simply drill a few into the bottom.
1| Begin with a layer of small pebbles, follow up with a thin layer of soil and top with another layer of sand, just like a lasagne (food reference!). You can repeat that as much as you need to fill your pot 1/2- 3/4 of the way up leaving 2 inches from the top. This is where the fun part begins.
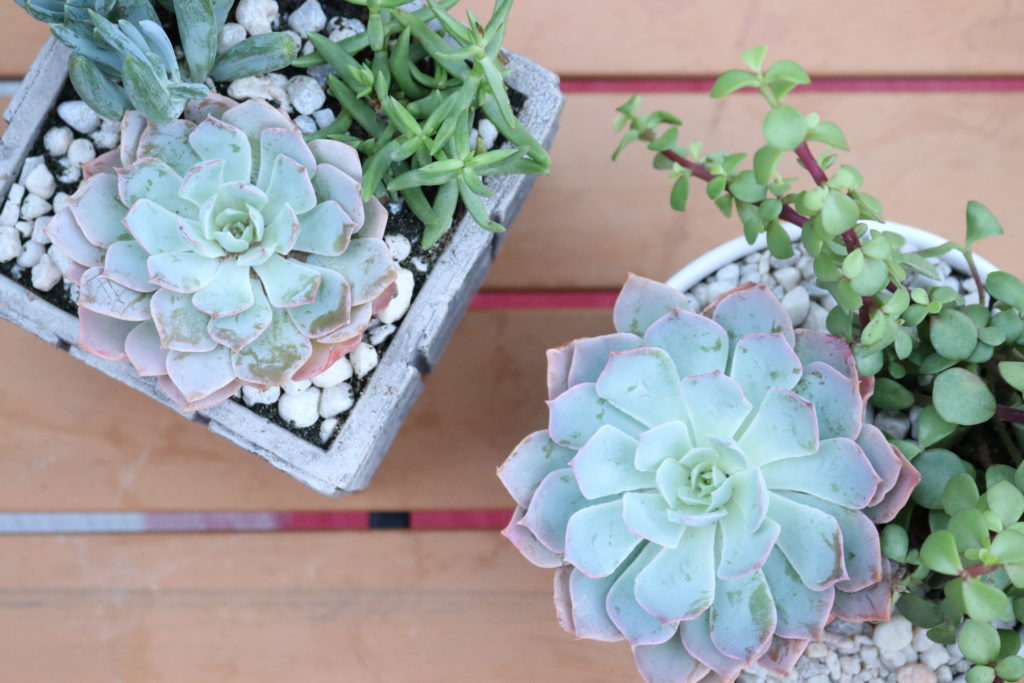
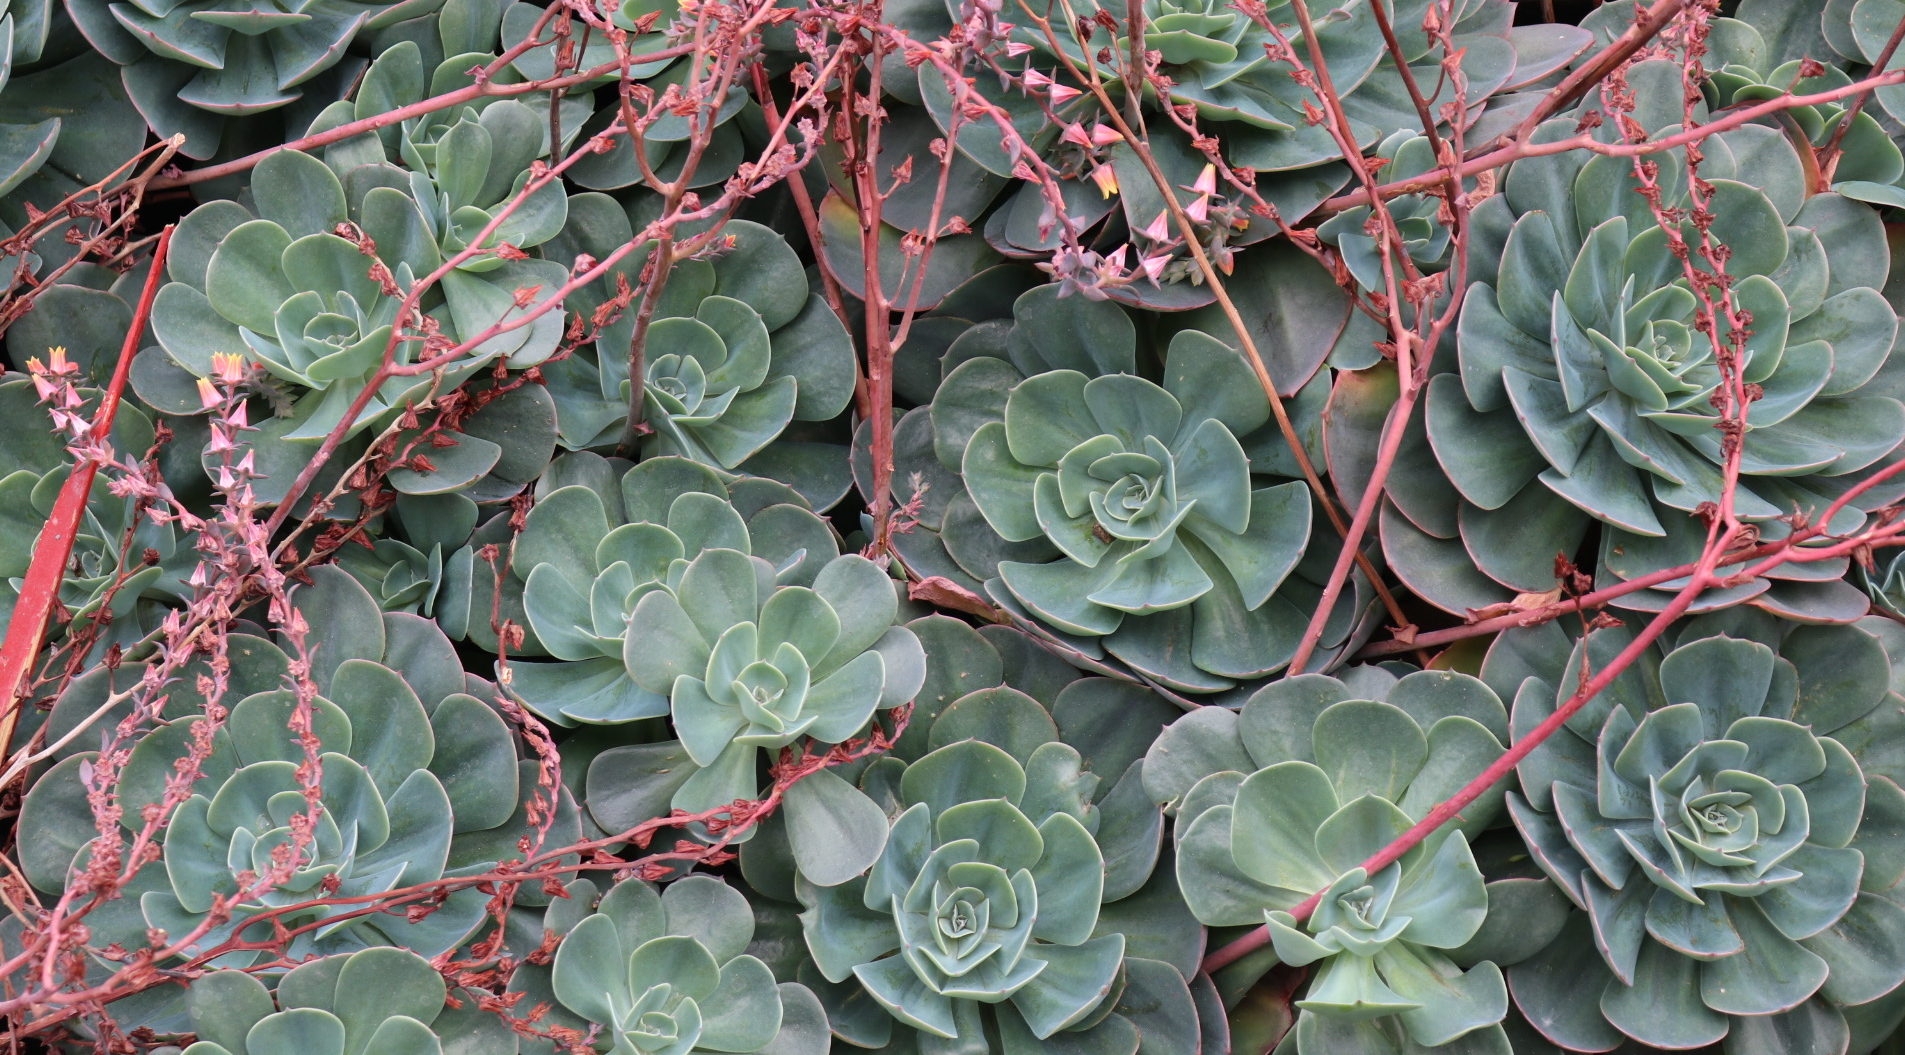
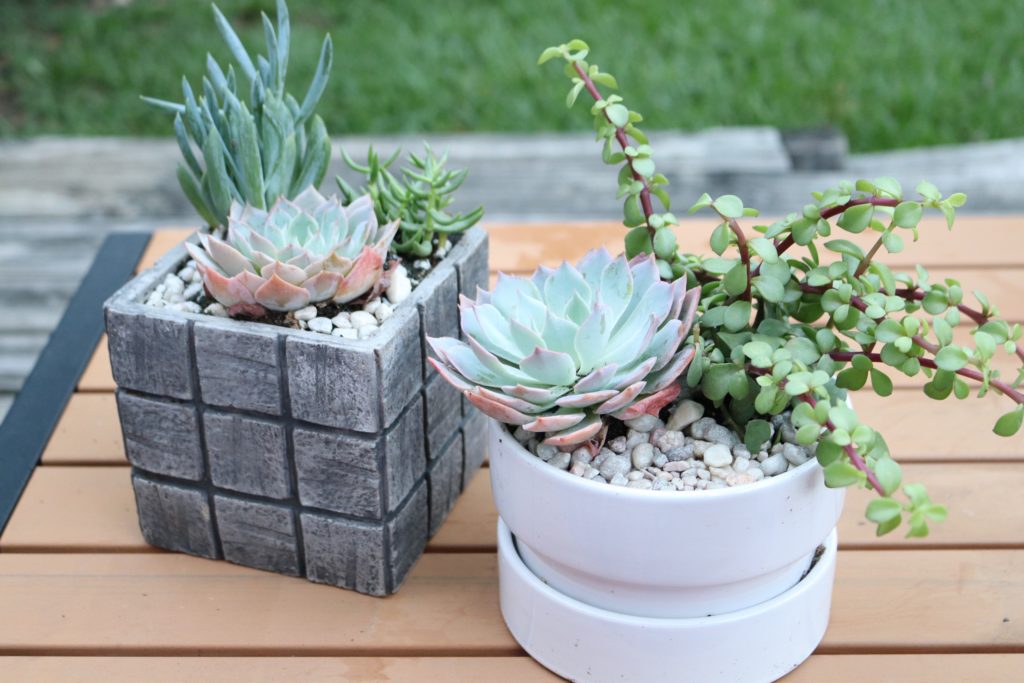
2| Choosing your succulent plants: Combining species can be a gamble. Smaller plants next to larger plants run the risk of falling under plant survival-of-the-hungriest. We suggest selecting succulents that are similar in size and shape and have enough space to share. Building the soil and planting at different heights may also help with preventing root crossover. I find designing a humble pot filled with nature’s little jade fractals to be a gift of gratitude. It can tell a beautiful story.
3| Be gentle when removing your succulents from their plastic pots. Succulent roots are fragile and prone to shock. Mix a small amount of soil, pumice, and sand together for your top layer where your succulent will go. Gently build the soil mixture around the roots in the new pot, just shy from the rim. Top with a combination of your aesthetic substrate, we used stones, orchid bark, and soil/sand mixture. Get artistic and tap into your deepest inner gardening guru, imagine capturing a tiny world in a pot.
4| Watering time. . .Initially, you don’t want to be shy with watering and water just the soil directly. You should saturate all the layers until you see water coming through the holes. Let it drain and give your newly planted succulent 4-6 hrs of indirect sunlight with some fresh air in the first week. Over time, gradually introduce your plants to direct sunlight. Since it’s in spring (as I write this at least), this is a safe time to not scorch them. Rotating, just like a cake in an oven (food reference number 2!), will ensure your plants get plenty of even time in the sun.
5| Your plants will thrive during the next two seasons, but overwatering can kill succulents. So, allow the soil to dry in between waterings using the finger rule. If the soil feels dry down to the 1.5 inch mark, it’s time to grab the watering can. Fertilize only in the summer and allow your plant to rest in the fall/winter.
Every green thumb knows that planting any type of cactus is always a shot in the dark, but it’s a risk worth taking. As your plant enters it’s new life in your home, relish in the moment, it’s beauty, and try keep them happy and healthy. With the right amount of care and attention, these potted gems will bring you much joy for years to come.