WINNER, WINNER, THIS BEST EVER JAPANESE FRIED CHICKEN IS WHAT’S FOR DINNER
Our best ever Japanese fried chicken
Japanese cuisine, all encompassing, has been widely celebrated in the culinary community for its emphasis on seasonal ingredients, refined flavors, and artful presentation. Beyond the traditional silken slices of sashimi lies an open door to a variety of Eastern and Western influence in the modern era. Dishes inspired by neighboring countries, particularly China with ramen and other noodle-based dishes, have been favorites among Japanese tastes for a very long time. But hamburgers and fried chicken recipes inspired by old-fashioned Americana have been gaining in popularity in Japan over the past few decades as well.
Many years of my career were spent firing up and fanning binchotan behind yakitori grills. Any unusable chicken (a rarity) was given liberty for family meal use. Those of you who are unaware, family meal is a steadfast tradition in a working kitchen. A gift to the cooks and line workers, as well as a call to friendly cooking competition among colleagues after grueling hours of service on the line. After one particularly slow night, a batch of fatty foul became the canvas for what is now my favorite way to prepare fried chicken. It’s stupidly simple and insanely delicious. Definitely worth dirtying up a vent hood for.
CHEF’S NOTES
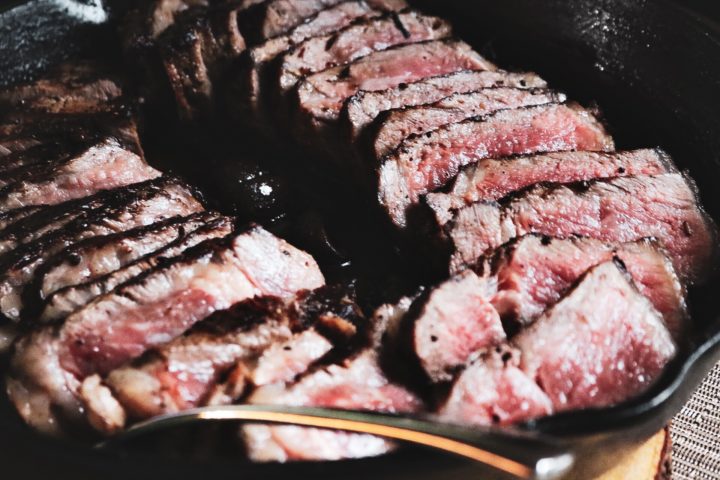
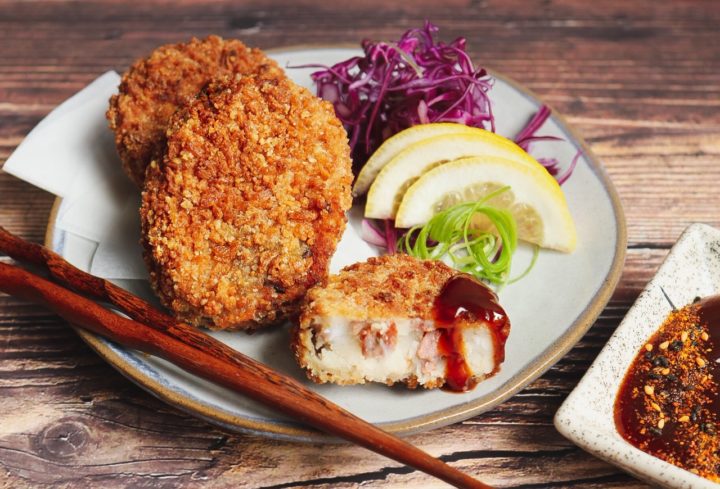
All the flavor in this recipe is driven by the marinade and seasoning of the chicken meat. So don’t skimp on the sodium when it comes to the soy sauce. The sweetness from the mirin and sake balance it out just right. The key to a perfectly crunchy coating is in the blend of rice flour, potato starch, and baking powder. You can use corn starch as a substitute if you can’t find potato starch, but the potato starch is definitely the best way to go. Try a variety of chicken cuts, remember to adjust your cooking times according to the size and whether the pieces are bone-in or out. If you like a hint of spice, sprinkle some shichimi togarashi or cayenne after the final fry. Oh, and, Celiacs rejoice! This recipe is naturally gluten-free. Make sure to substitute the soy sauce with tamari. Finally, a gluten-friendly fried chicken recipe that tastes even better than the Colonel’s. Pair this recipe with our Samurai Gourmet-inspired croquettes to make it a meal!
Print Recipe
Best Ever Japanese Fried Chicken
Our favorite Japanese version of a Southern classic.
Season the chicken lightly with salt and white pepper. If you're going bone-in, make sure to cut 1/2 inch deep scores along the thickest parts of the meat to evenly marinate. Combine all the remaining ingredients for the marinade in a bowl, tupperware or ziplock bag. Add the chicken to the marinade, cover and chill in the fridge. Let the magic do it's thing for a minimum of 2 hrs or best overnight.
Breading and Frying
Begin heating the oil in a deep wok or frying pan on medium/high until oil reaches 325f degrees.
In a large bowl, combine 1 c of each flour, baking powder, salt and pepper. Set aside.
In a large bowl, drain half of the marinade from the chicken into the bottom. Add the 2 tbls of each flour, eggs, and whisk together to create a thick slurry. Drizzle a very small amount of the batter into the dry flour bowl and whisk to create small shaggy lumps in the flour.
One piece at a time, begin dipping the chicken into the slurry then directly into the flour. Coat evenly, gently pressing flour into the slotted cuts. Transfer to a tray or plate. Repeat until all pieces are breaded.
Prepare a sheet tray lined with a drainage rack or wide fry basket with paper towels.
Begin frying 3-5 pcs of chicken at a time, depending on the size of the chicken. Set a timer for 4 mins for each side, totaling 8 mins, turning the chicken over once it has become golden. Remove the chicken and transfer to the draining rack or paper towel lined basket. Repeat until all chicken is fried.
Allow chicken to rest for 10-15 mins or up to 30 mins. Turn the heat on the stove slightly up. Once oil reaches 350-375f degrees, return the chicken to the fryer in small batches. Fry for 2 mins, turning occasionally, or until chicken is golden brown. Repeat until all the chicken is fried. No need to worry about checking the temperature on the chicken. It always turns out juicy and fully cooked. It's a no brainer.
Enjoy. I hope you'll love this recipe just as much as I do.